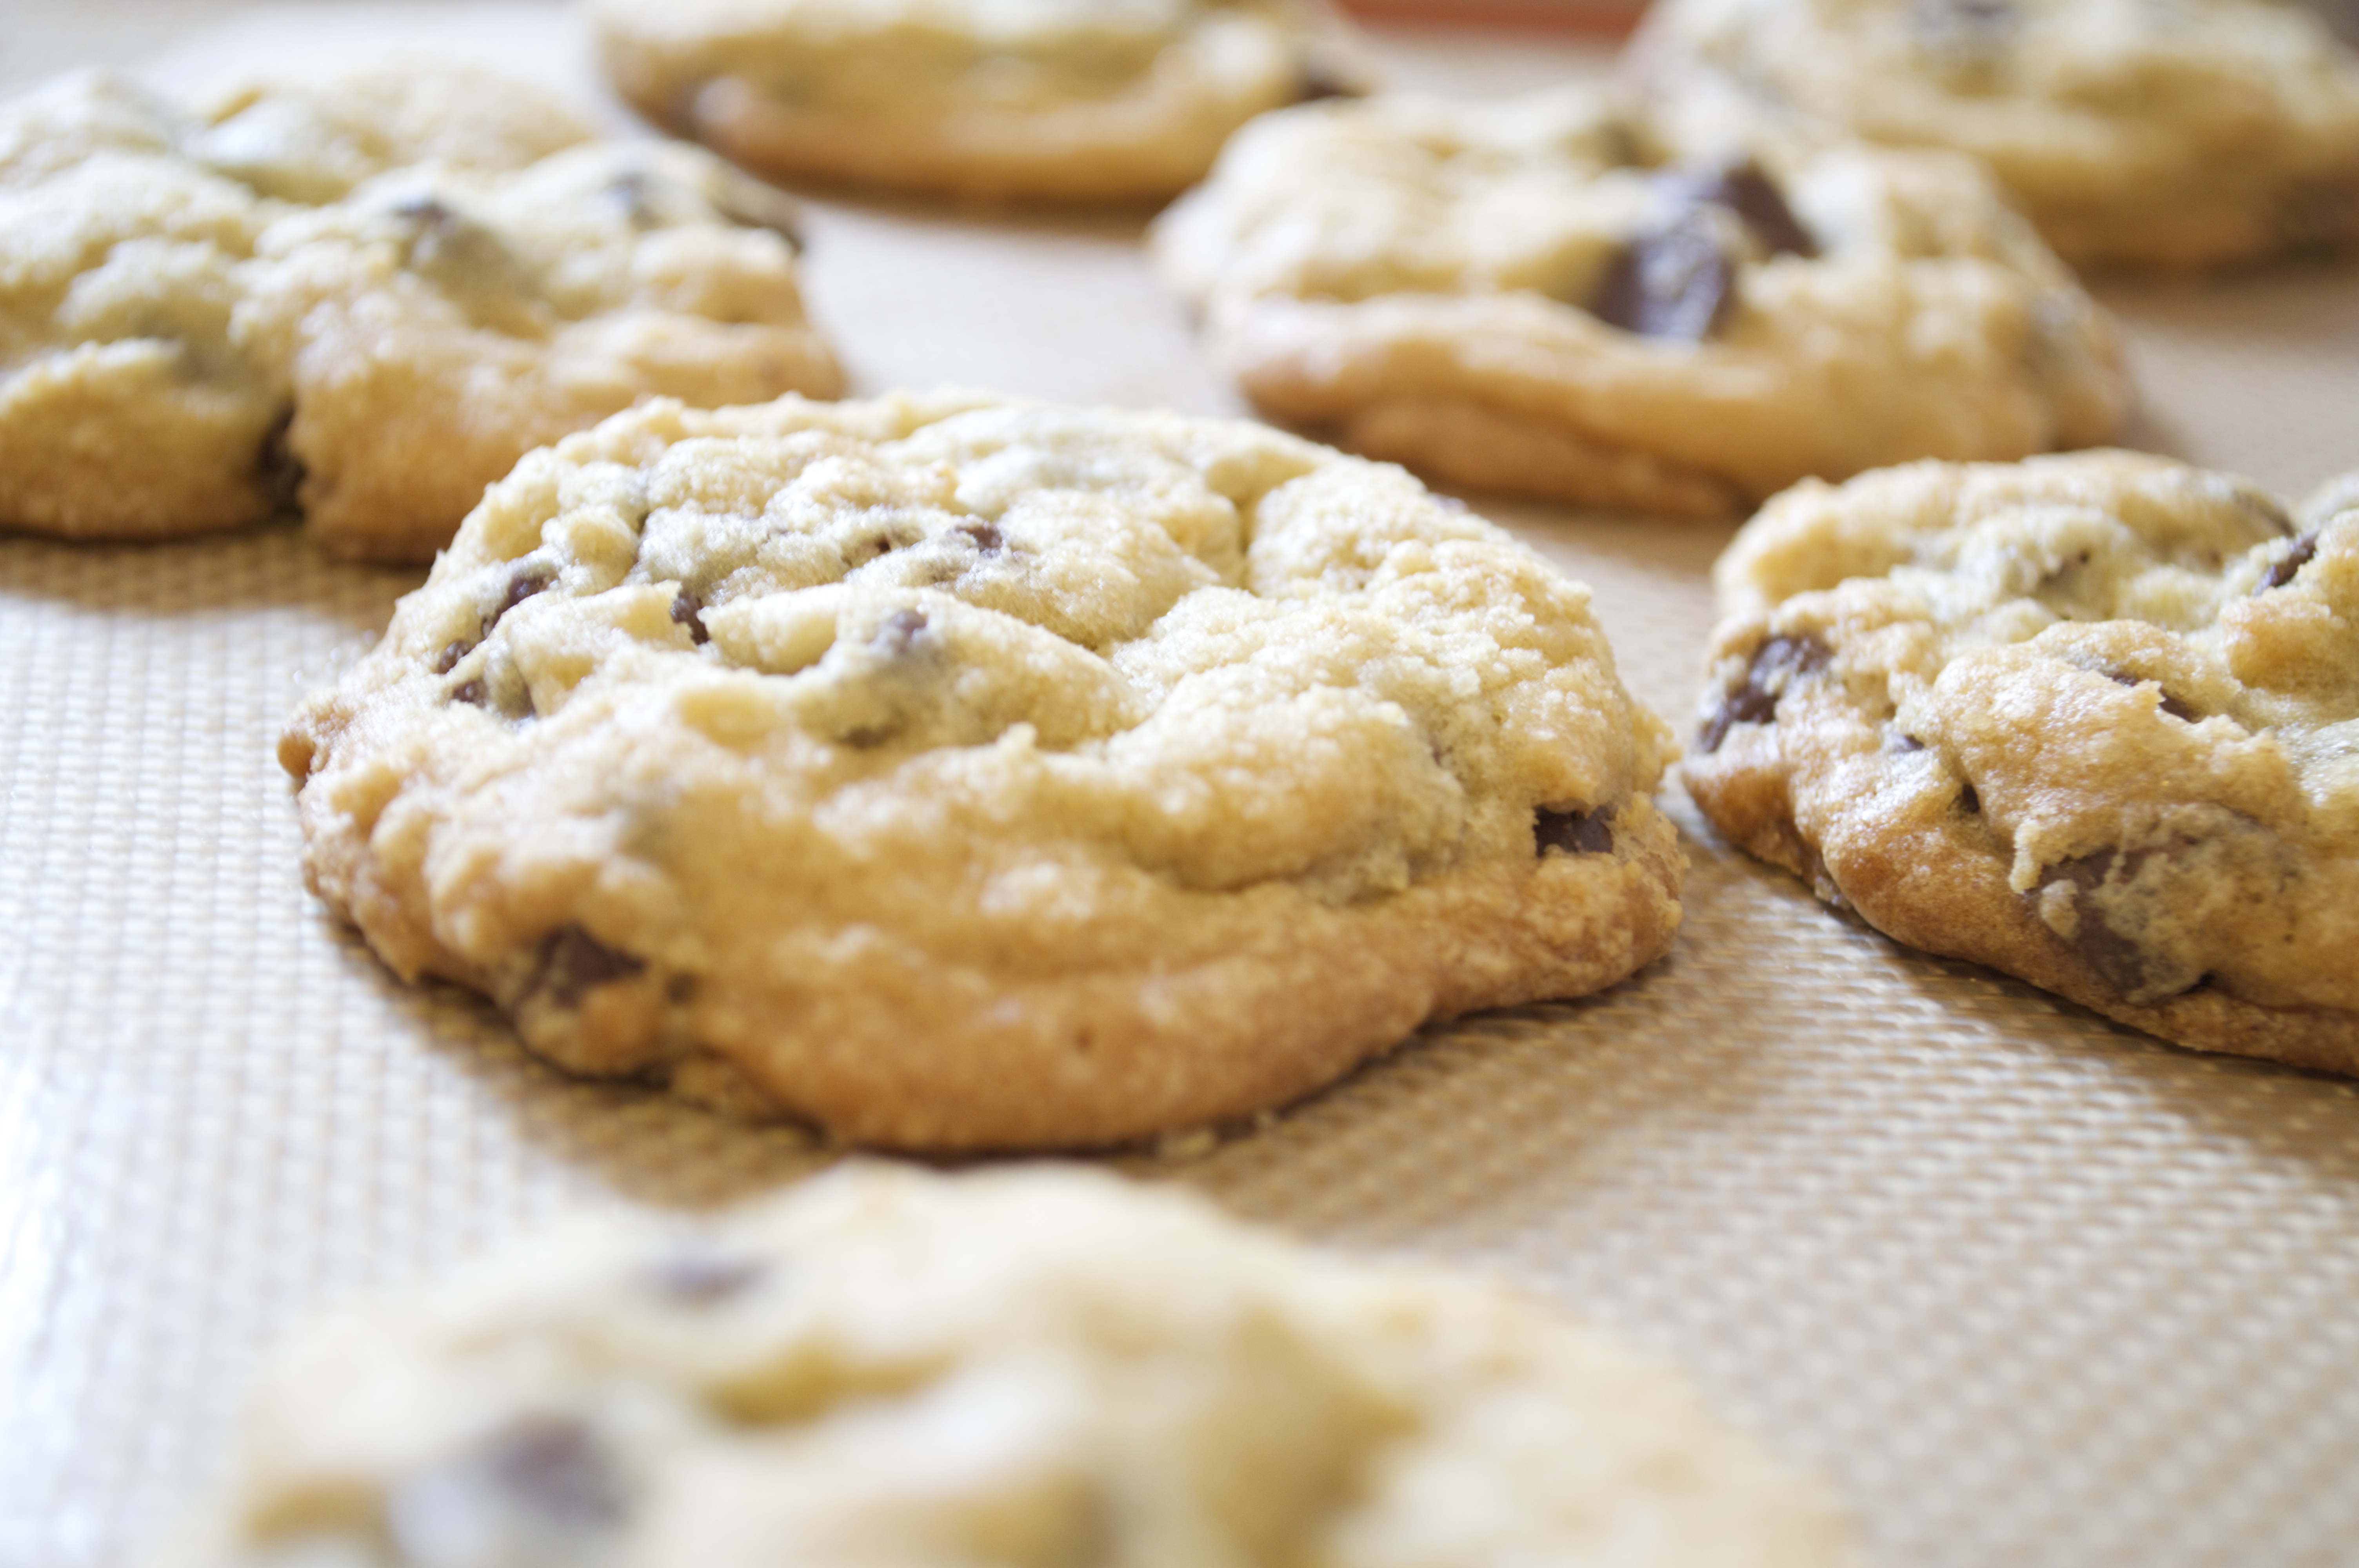
My first experience of the American style, gooey in the center, crunchy on the outside chocolate chip cookie came out of a Pepperidge Farms bag. I had never tasted anything like it before: up until that point, cookies to me meant the drab, shortening-based, mass-produced, hard nuggets often issued with your Ovaltine at funerals. From the first taste, I was hooked: I didn’t know that a cookie could be so soft and moist and gooey and… comforting. It immediately transported me to the white-picket-fenced homes I’d only read about in children’s books.
Amurrca, fuck yeah!
This Pepperidge Farms cookie was my gateway drug to baking. I spent the year after cramming that whole cookie (and the rest of the pack) into my mouth searching for others like it. My failure to do so eventually led me to start doing it myself. From those first few batches of cookies that were sometimes too cakey, sometimes too hard, sometimes a gooey, spread-out mess, I started trying out other recipes in the cookbooks and, as they say, it all went downhills from there.
So in honor of July 4th, that most ‘Murrcan of holidays, I present to you my own taste of the American Dream: the ooey, gooey, white-picket-fencey chocolate chip cookie.
Tastes like freedom
Much better cooks have spent countless hours testing recipes, refining methods and writing treatises on the subject. In particular, I’d highly recommend these helpful tips from Brave Tart (where the nutmeg in our recipe comes from), and this thorough guide from Serious Eats’ Food Lab (SCIENCE!).
In my experience, I’d say that the most important step to never, ever skip unless you absolutely have to is refrigeration: it makes a huge difference in your cookies’ consistency. So even if you are willing to forgo any of the other pro-tips for the sake of time and convenience, do absolutely plan ahead and make sure you have at least 1-2 hours (okay, or 30 minutes and an empty freezer) to chill your dough before baking.
Chocolate Chip Cookies
Makes 18 cookies (Laura and I use a 1½ tbs scoop)
1 stick unsalted butter, slightly softened
½ cup brown sugar
½ cup white sugar
1 large egg
1 tsp vanilla extract
1 ¼ cup all-purpose flour
½ tsp baking soda
1 tsp salt
1 cup chocolate chips
First, check your fridge and make sure there’s enough space for a sheet pan. Go on – do it. You’ll thank me later.
Line a sheet pan with a silicon mat or parchment paper.
In the bowl of a stand mixer, start creaming the butter and sugars together at medium speed. Once the mixture starts to come together, add the egg and vanilla, then continue creaming until the butter is light and fluffy and the sugars have dissolved, about 7-10 minutes (We have Momofuku Milkbar‘s Christina Tosi to thank for this approach).
Meanwhile, in another bowl, whisk together all the dry ingredients (except the chocolate chips). Once your butter mixture is ready, dump the dry ingredients into the stand mixer bowl and mix on low until just combined. Mix in the chocolate chips.
Using a medium sized (1½ tbs) scoop, scoop balls of dough onto your sheet pan. You can place them fairly close together at this stage, since you’re not baking them just yet. Cover the sheet pan with plastic wrap, and pop the whole thing in the fridge for at least 1 hour.
Once the dough balls are firm, you can store them in a plastic bag (they’ll last in the fridge for up to 3 days or in the freezer for a couple weeks) or bake them.
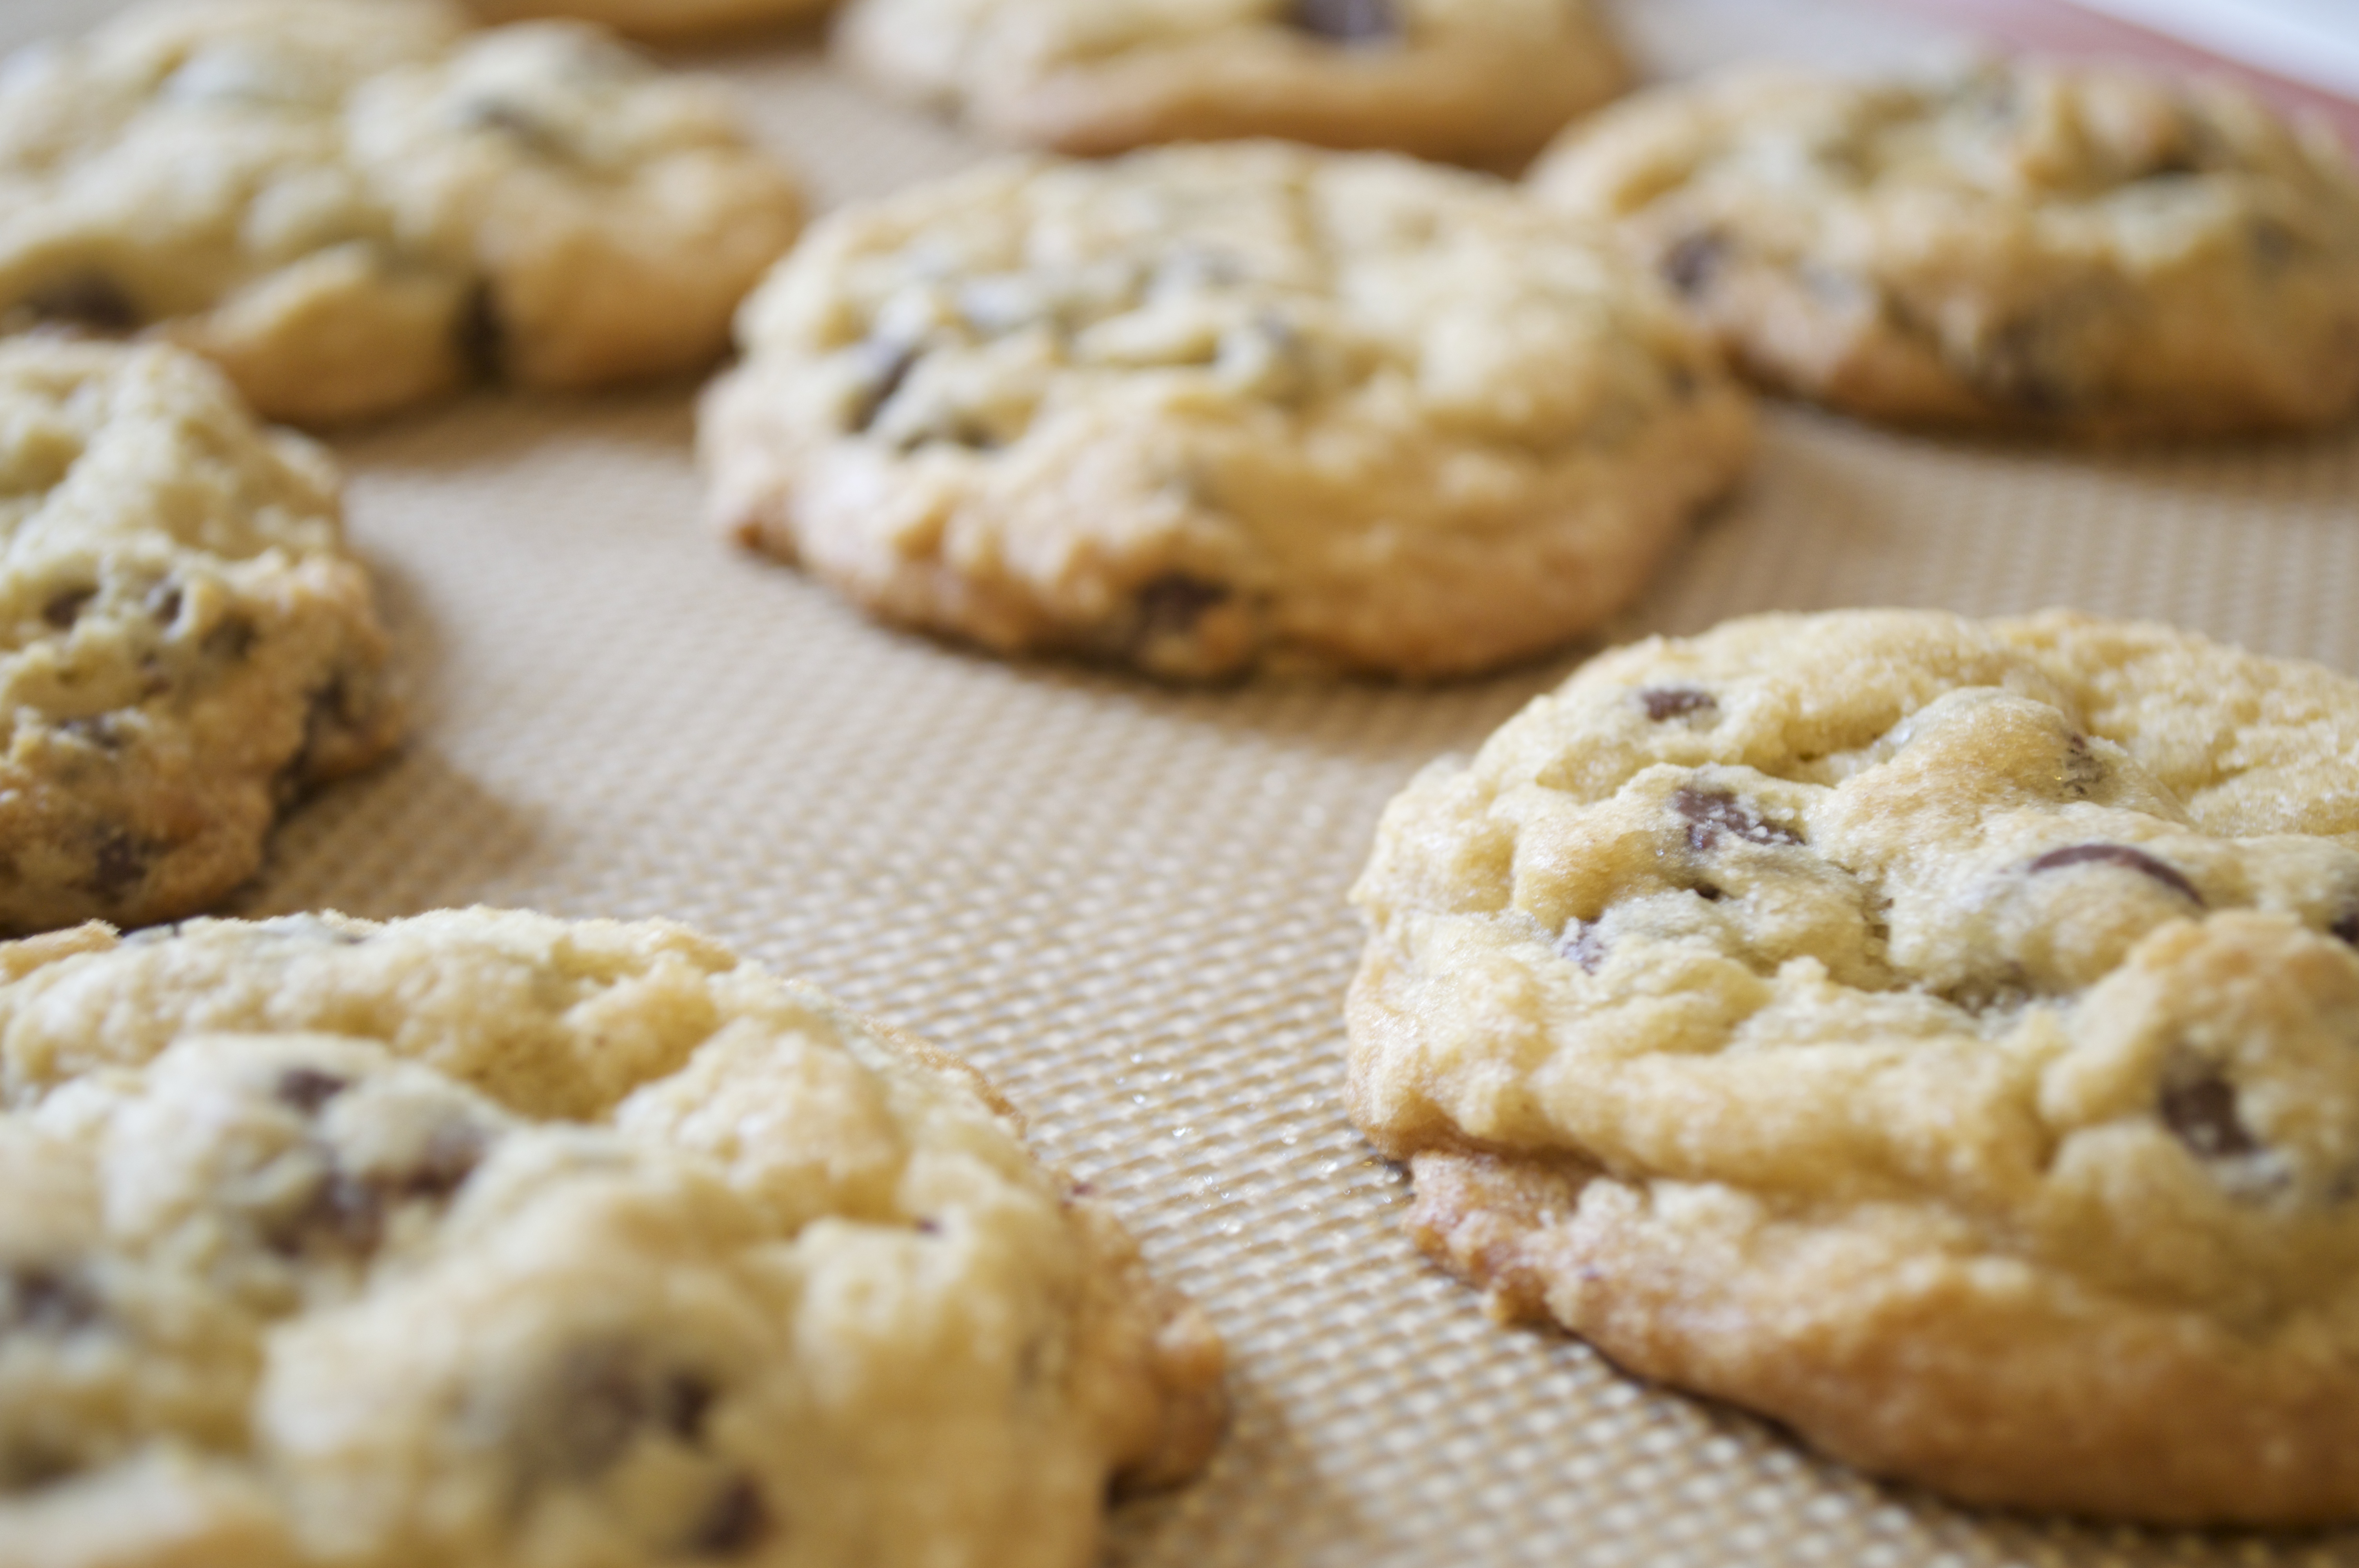
To bake, preheat your oven to 350F and arrange your dough balls 1-2 inches apart on a lined sheet pan (you’ll need 2 if you are baking the whole recipe). Bake your cookies at 350F for 15 minutes, or until the cookies have spread and the edges are starting to brown. Let cool for a couple minutes on the sheet pan before moving them to a cooling rack or, as we do it, to your mouth.
The cookies will store in an airtight container for 2-3 days (props to you if you can keep them around for that long).
